
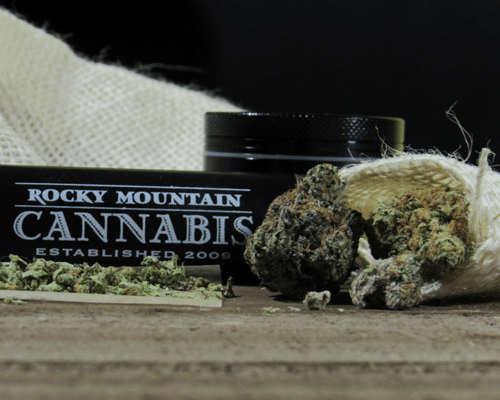
1. Pick a Strain
First things first, take a trip down to your local RMC location and snag a few grams of your favorite strain. Buds with a little moisture tend to roll a bit better than strains that may have dried out, but either will work just fine.
2. Grind the Flower
Snag your custom branded RMC grinder and throw a gram or so in. Break down the cannabis into shake keeping in mind to snag all seed and stems out as they can puncture the sidewall causing the joint to burn unevenly. If a grinder is not available you can use a pair of scissors or your fingers, but keep in mind that your hands will get sticky which can cause difficulties when rolling.
3. Make a Filter
Filters, also known as a crutch or tip, can be dded to your joint and act as a barrier so you don’t suck in a mouth full of bud. They aren’t always necessary, but it can add some stability and allow you to smoke all the cannabis in the joint without burning your fingers. Filters can be made out of just about anything, but we recommend using a thin business card or piece of paper. Some papers will even provide you with material for making a filter. Start with an accordion fold at one end and then proceed to roll the crutch to the desired diameter of the joint.
4. Fill it
The next step is to fill your joint with that favorite strain of yours and add the filter (If you decided to make one). A lot of people prefer using organic or hemp papers as they are thinner and tend to burn a bit better, and lucky for you, RMC has you covered with our custom organic papers in house. Once you feel comfortable with the amount of cannabis in your joint, start shaping the cannabis with you fingers. Pro Tip: It’s always a good idea to shoot for an even spread of cannabis throughout the joint to avoid uneven burning.
5. Pack it
After you have your desired amount of cannabis in the joint, pinch and roll the joint back and forth between your fingers to pack it down to a cylinder like shape.
6. Roll it
This is probably the most important step as it can make or break the quality of the joint. Tuck the unglued side of the paper into the roll and add a little moisture from your tongue to the glued side to tack down one end of the paper. Once you have an end tacked, you can then proceed to work your way down the seam, adding moisture and tacking as you go to create the seal.
7. Finish Up
The final step is only necessary if you feel so. We recommend using a pen or pencil to slightly pack the cannabis down into the joint. Then proceed to close the end you will light to make sure the cannabis doesn’t fall out. Pro Tip: A good practice is to roll the finished joint through your fingertips to spread the cannabis evenly throughout the joint allowing for a cleaner smoke.
8. Enjoy
You’re all set. Spark it up and enjoy.
